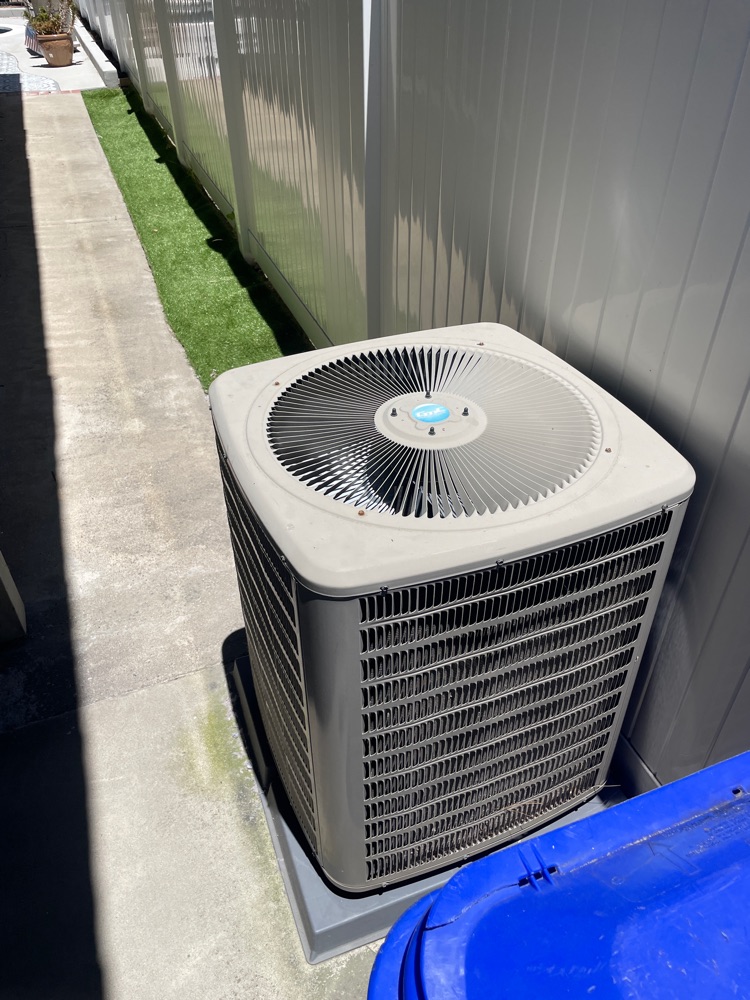
Replacing your Lennox air conditioner filter is important to keeping your system running efficiently. Here’s how to do it:
1. Locate the filter. The filter is typically located in the return air duct or near the blower compartment. Depending on your system, it may be a flat panel or cylindrical style filter.
2. Remove the existing filter. Slide out the old filter and discard it properly. Make sure not to touch the dirty surface of the filter, as it can contain bacteria and other contaminants that could be harmful if inhaled.
3. Measure and purchase a new filter. Measure the size of your existing filter and purchase a new one that is the same size at a local home improvement store or online retailer. Select an appropriate MERV rating based on your needs, such as dust reduction, pet dander, smoke, etc.
4. Install the new filter in its place by sliding it into position and ensuring that it is correctly secured in place with no gaps or openings around its edges that could allow air to bypass it.
5. Check for proper airflow using a digital thermometer to measure temperature differences between supply and return vents throughout your home after replacing the filter. If you notice any significant temperature differences, contact a professional HVAC technician for further inspection of your system’s components and ductwork for any potential blockages or obstructions that could be causing poor airflow throughout your home’s air conditioning system.
By following these steps, you can easily replace your Lennox air conditioner filter yourself in just a few minutes’ time! If you still have doubts about the process, don’t hesitate to contact Prime Air solutions service company. Our experts will provide your Lennox AC unit with all the necessary services. Call (619) 655-3355 ASAP!


